
How to Make a Cricut Friendly Rail Fence Quilt Block Using Your Cricut Maker
- Jul 17, 2024
- 5 min read
Updated: Aug 30, 2025
Introduction to Using Cricut Maker to Cut Fabric for Quilting
When you hear the word Cricut, what comes to mind? And, no, I'm not talking about the insect here.
Are you thinking cards or vinyl? That's fine, but this time, I want you to think fabric and quilting.
Cricut can cut lots of things for sure. As a quilter, one of my favorite things it does is cut fabric! Sure, I can cut quilt strips with my rotary cutter, but did you know so can Cricut? It has a rotary blade too.
Cricut can help you make lots of quilt blocks easier, faster, and more accurately.
Getting Started with Easy Quilt Blocks
Today I'm going to start introducing you to easy quilt blocks that you can make using Cricut.
Quilt smarter, not harder.
I'm going to show you how easy it is to cut fabric strips with the Cricut Maker even if you've got a Cricut Maker that you're not quite sure how to use.
If you've got Cricut Design Space installed I'm going to show you how to use it today to make a 6" Rail Fence quilt block. This block is also known as a Basket Weave quilt block.
We're going to cut 4 strips from each of 3 colors since we'll need 12 strips for each block.
Like I said, put that rotary cutter away because we're going to let Cricut do all the hard work for us.
Once Cricut cuts the strips, we'll use them to make a 6 1/2" (6" finished) Rail Fence Block.
Materials Needed
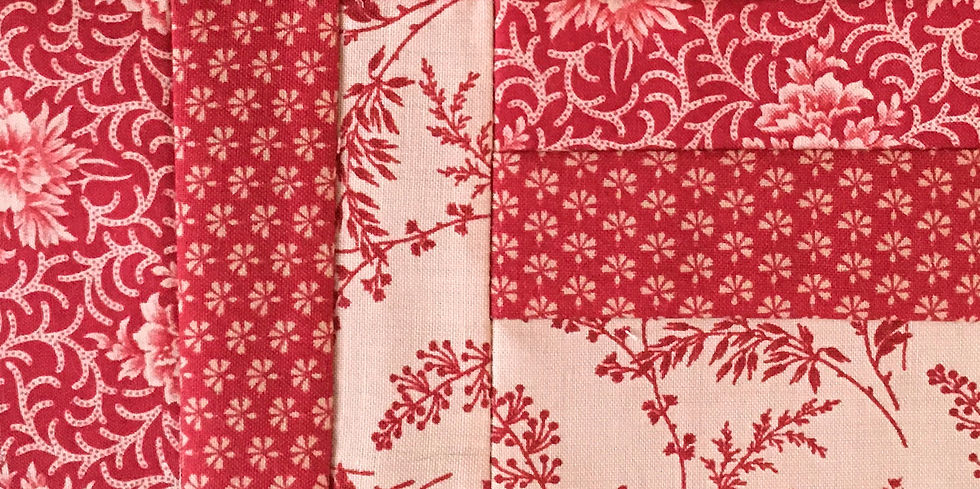
(3) pieces of fabric approximately 12" wide x 8" long.
Cricut pink fabric mat (I'm using 12"x12", but 12"x24" will work, too)
Cricut rotary blade
Cricut Maker
Sewing machine (I'm using a machine, but feel free to hand piece them if you prefer)
Thread
Iron
Step By Step Instructions
Setting Up Cricut Design Space to Make a Rail Fence Quilt Block Using Cricut Maker
Once you've launched Cricut Design Space, click on the green "New Project" button in the upper right of the page. The Canvas will open.
Click on the "Shapes" option on the left of the page. On my screen, it is the 4th option from the top on the lefthand side of the page.
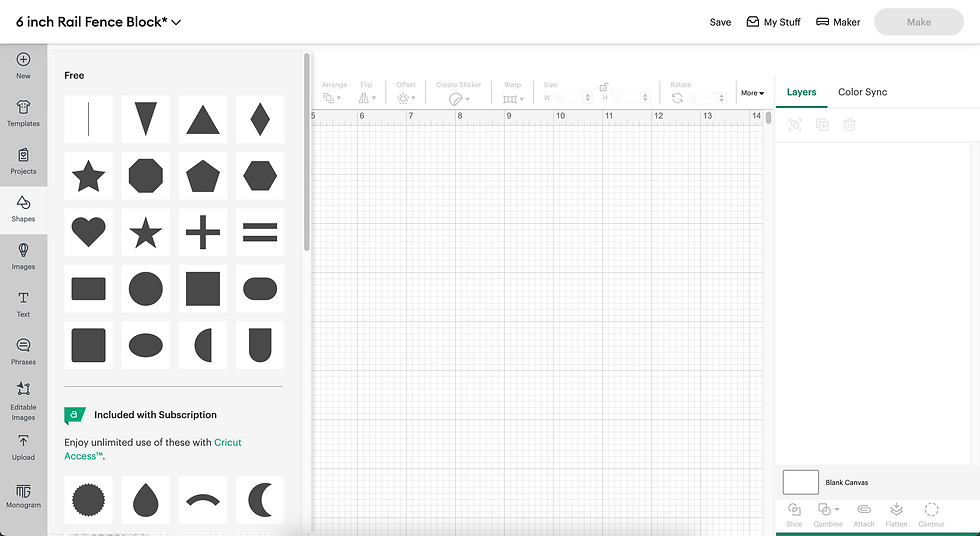
Then, click on the square shape.
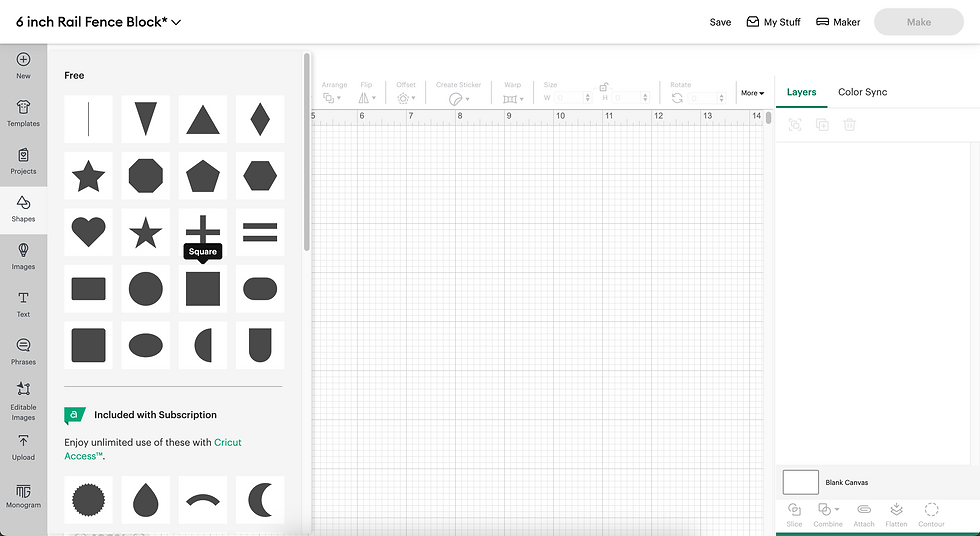
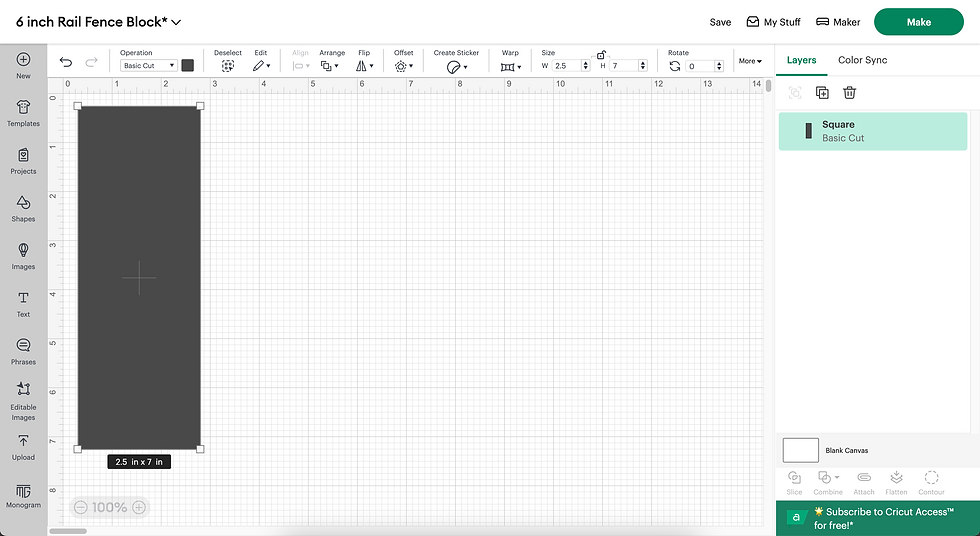
Once it opens you'll see a square on the page. In my photo below, you'll see it added a 2.5" square.

Since that's not the size you need, go to the top of the page and find the "Size" option to change it.
Now, click on the padlock icon to unlock it and change the dimensions to 2.5" x 7". Finally, click the return key on the keyboard to enter it.
Now that you have a 2.5"x7" rectangle, you'll need to cut 4 of them. With the rectangle selected, click on the duplicate icon 3 times. (It's the icon on the right side of the page above the light green highlighted area. It's next to the trash can icon below the "Layers" option.)
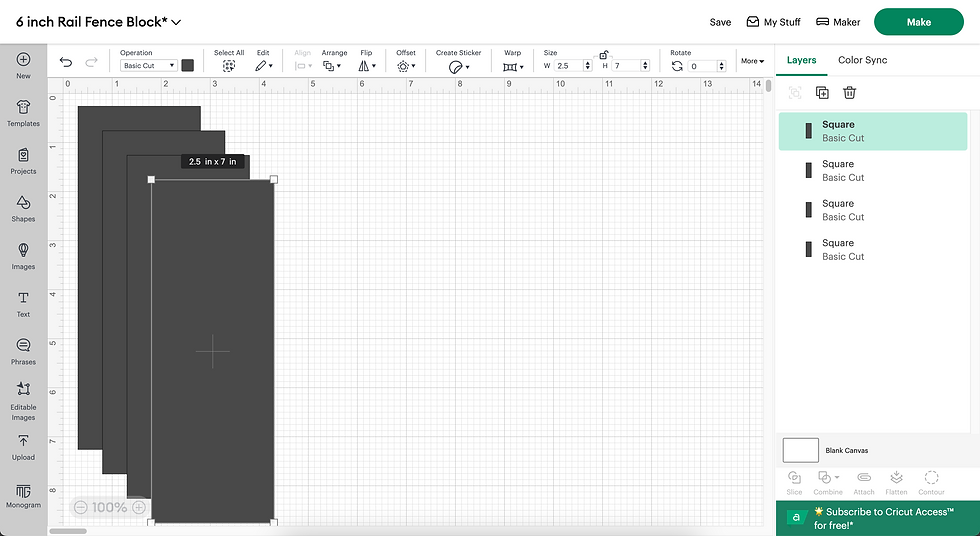
You should now have 4 strips. Save your project. I've saved my project to "6 inch Rail Fence Block" so I can find it easily again next time I want to use it.
Now, click on the green "Make" button at the top right of the page.
Cutting Fabric with Cricut
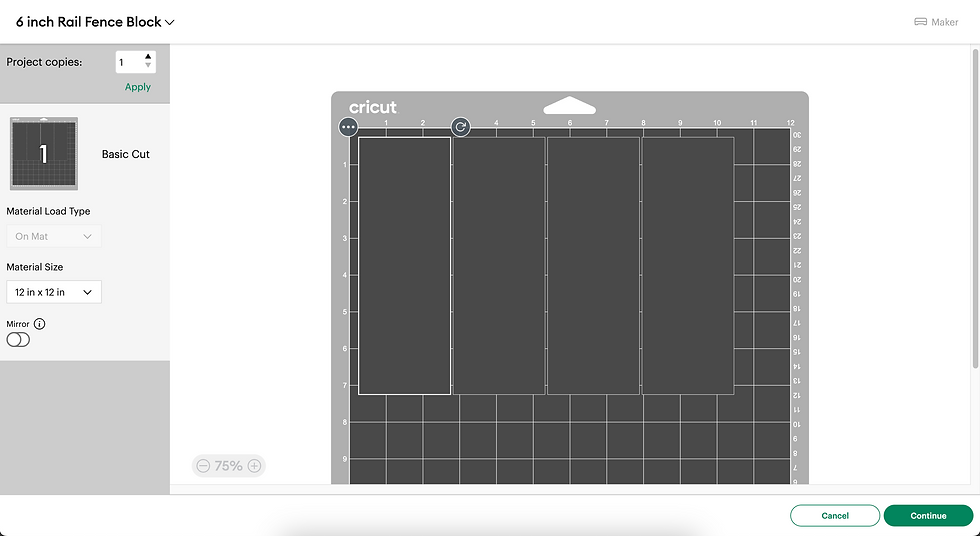
When Cricut goes to the next screen, you'll notice it has automatically arranged the 4 strips on the mat. You also see Cricut selected a 12 inch x 24 inch mat. If your're using a 12 x 12 inch Cricut pink fabric grip mat, you'll need to change it. Now click on the green "Continue" button.
Click on "Cotton" to set the base material. It is Step 1 in the following image.
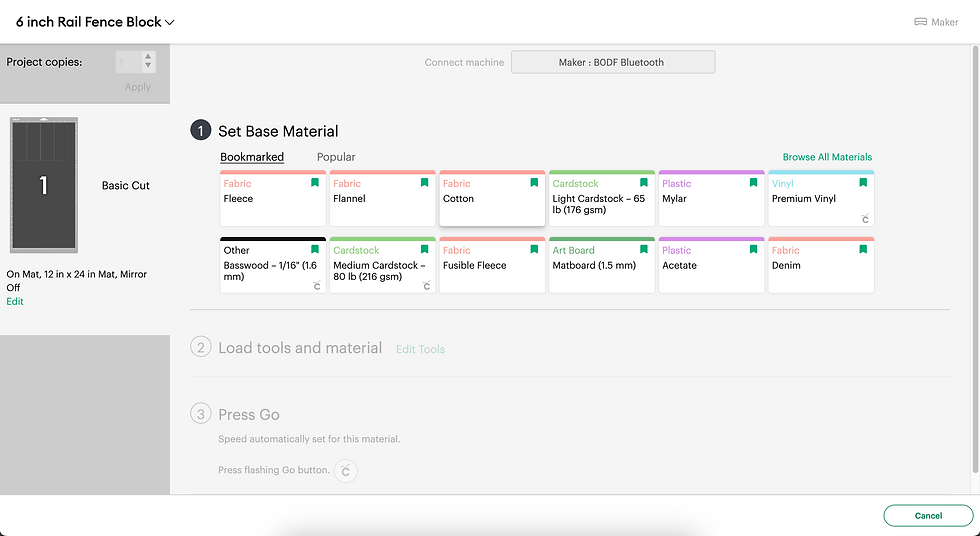
Set the Base Material option to "Cotton". This is Step 1 in the following image.
Now it's time to put the fabric on the pink mat and load it into the machine. Place the fabric you've chosen with the right side facing down onto the so that its width is 12" going across the mat, while its length is 8" going down the mat.
Make sure the fabric edges align with the top and left edges of the mat and smooth it down. A brayer is a nice thing to have for this, but of course, your hands work just fine, too, if you don't have a brayer.
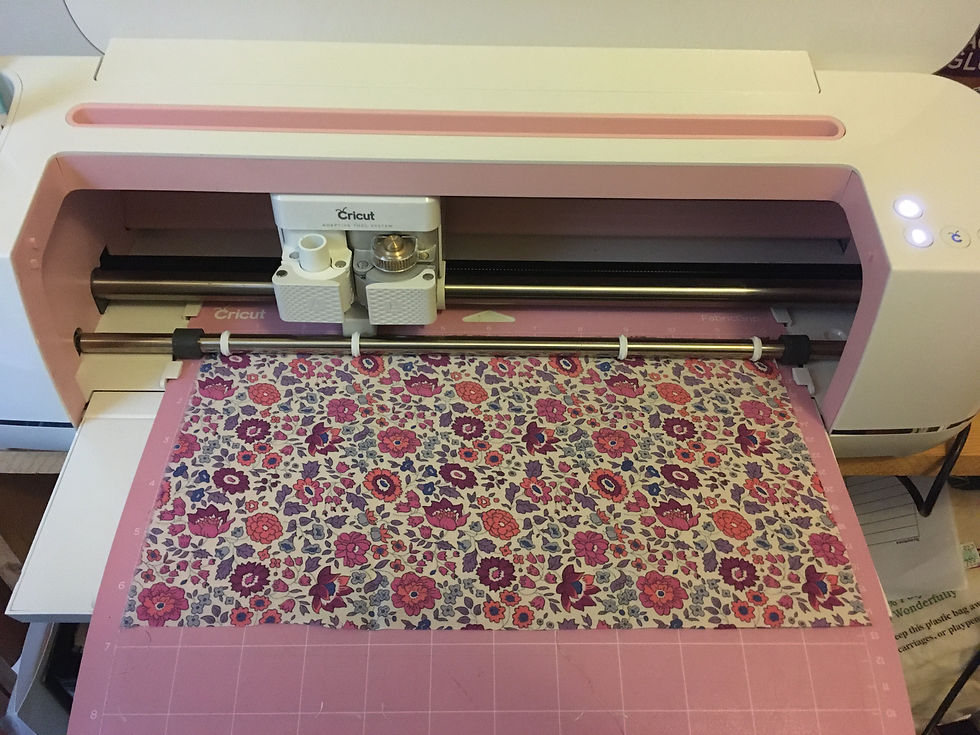
Once you've got the fabric on the mat, press the "Load/Unload" button. (I didn't have a picture of this, so you'll notice this picture is of some beautiful Liberty of London Tana Lawn. I love me some Liberty Tana Lawn!!!)
Make sure your Cricut Maker has the rotary blade loaded. I've already loaded mine and Cricut can see that. If you're not sure how to do this, just look at the Cricut software. It tends to prompt you on what to do next.
When Cricut is ready, the "Go" button will start flashing. (You'll recognize it as the button with the Cricut symbol.)
Cricut will start cutting your fabric once you press "Go". Once it's finished cutting, press the "Load/Unload" button you pressed earlier to unload your mat.
Once you've carefully removed the cut strips from the mat and placed them aside, you'll continue to load the remaining 2 pieces in the machine to be cut.
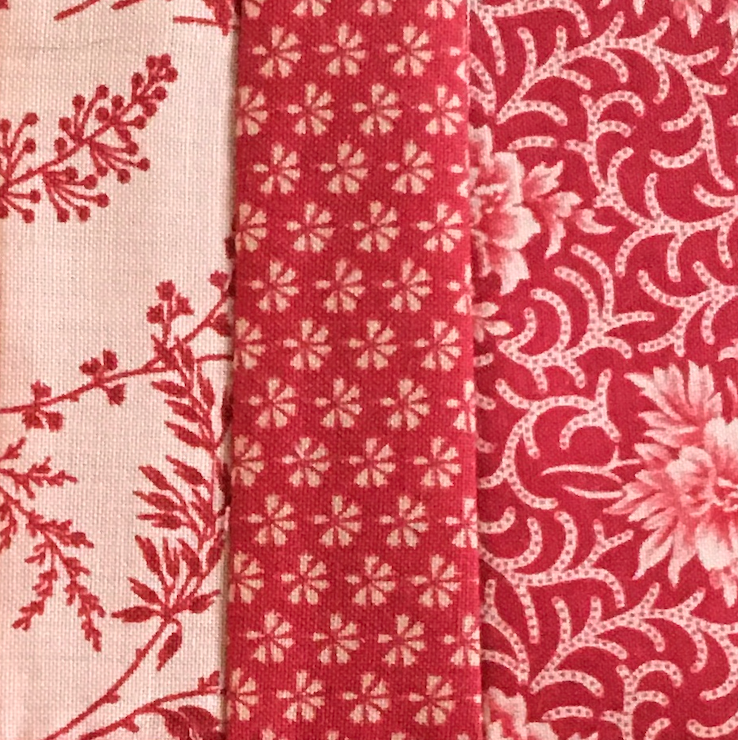
When you're finished cutting the other 2 pieces, you should have 12 strips.
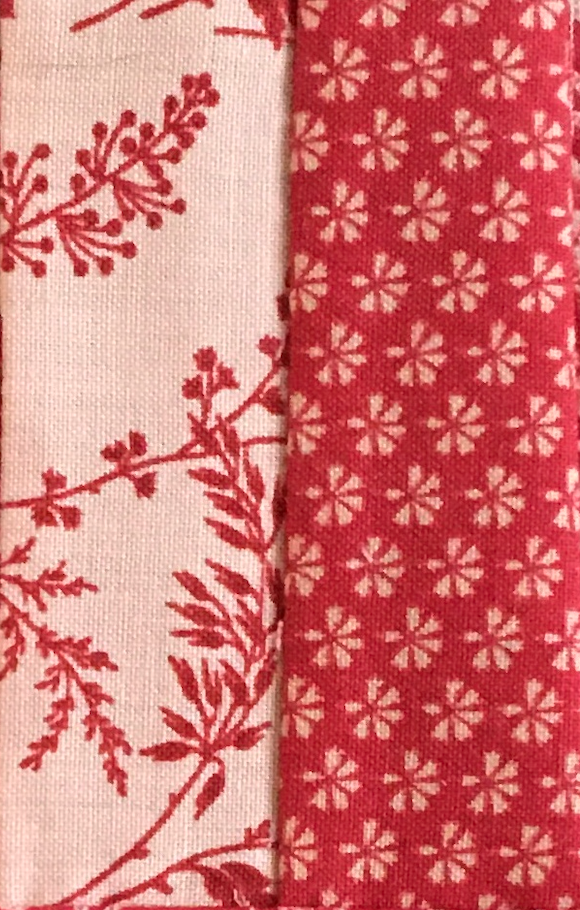
Arrange them in the color scheme you wish so that you have 4 groups of 3 strips each.
Assembling the Rail Fence Block
Now the fun begins!
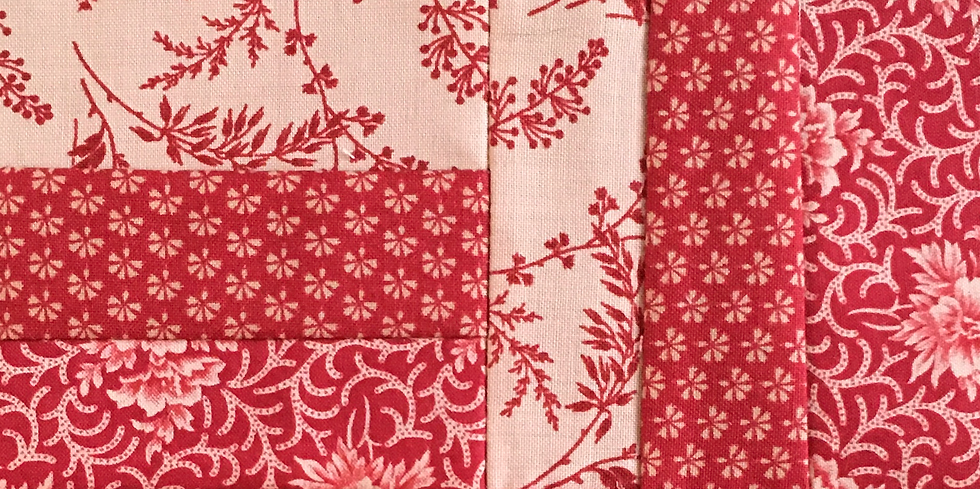
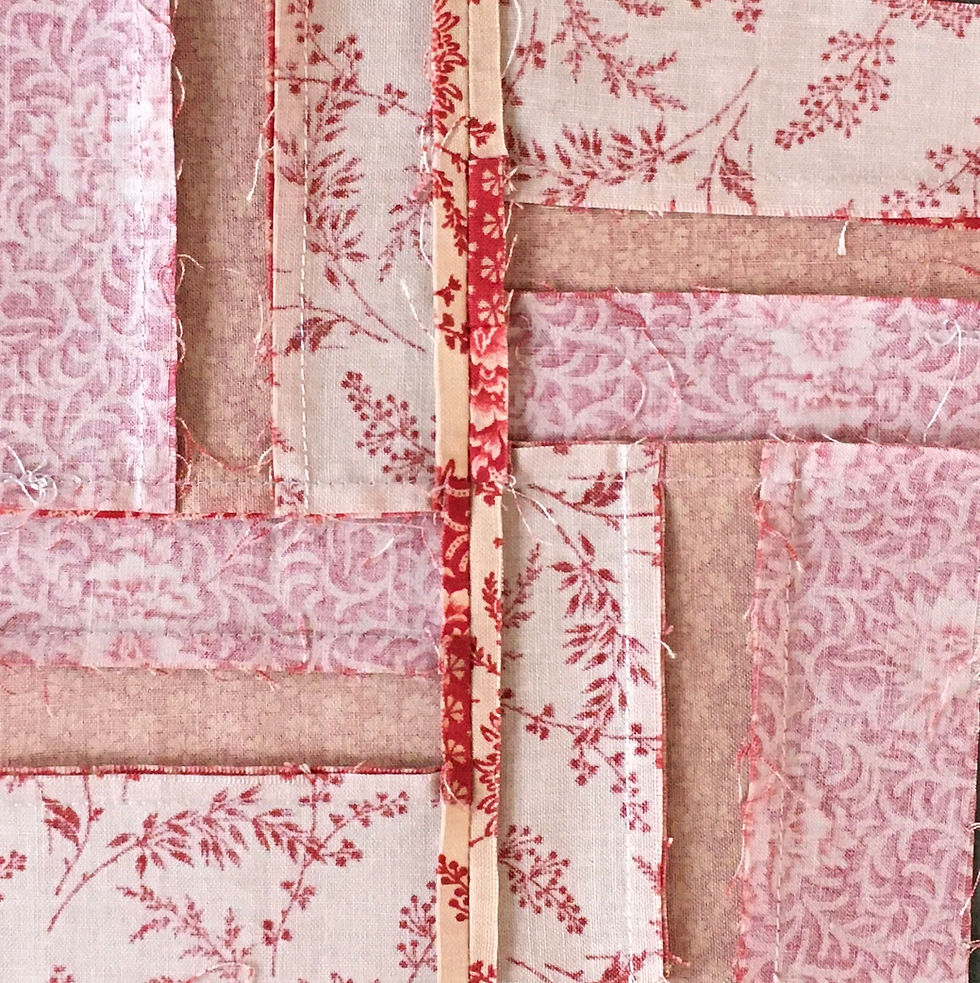
With right sides together sew 2 of the strips together lengthwise using a 1/4" seam.
When adding the 3rd strip to the other 2, flip the strip around and start sewing at the opposite end from the one you started with.
The unit should be 6 1/2" wide and slightly longer than that since we started with 7" strips.
Trim the unit to 6 1/2" in length. In this case, I pressed my seams to toward the middle strip which you'll see in a later image.
Repeat so that you have 4 units.
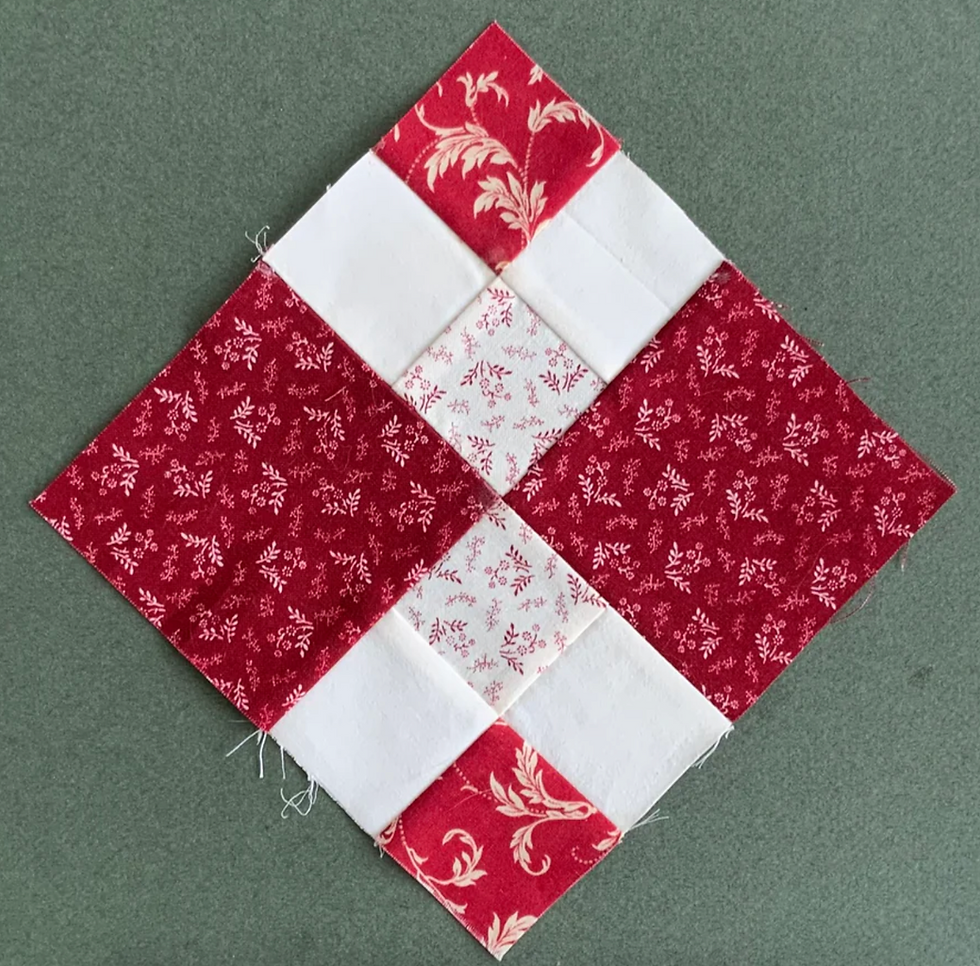
After constructing the 4 units, we need to join them to make a Rail Fence quilt block.
Join 2 blocks together first.
Then repeat.
Now, sew them both together to make the finished block.
I'll make sure to nest my seams so that the center seam matches. Here's an example of properly nested seams.
Press. (I pressed my center seam open. I often don't press seams open, but I did here.)
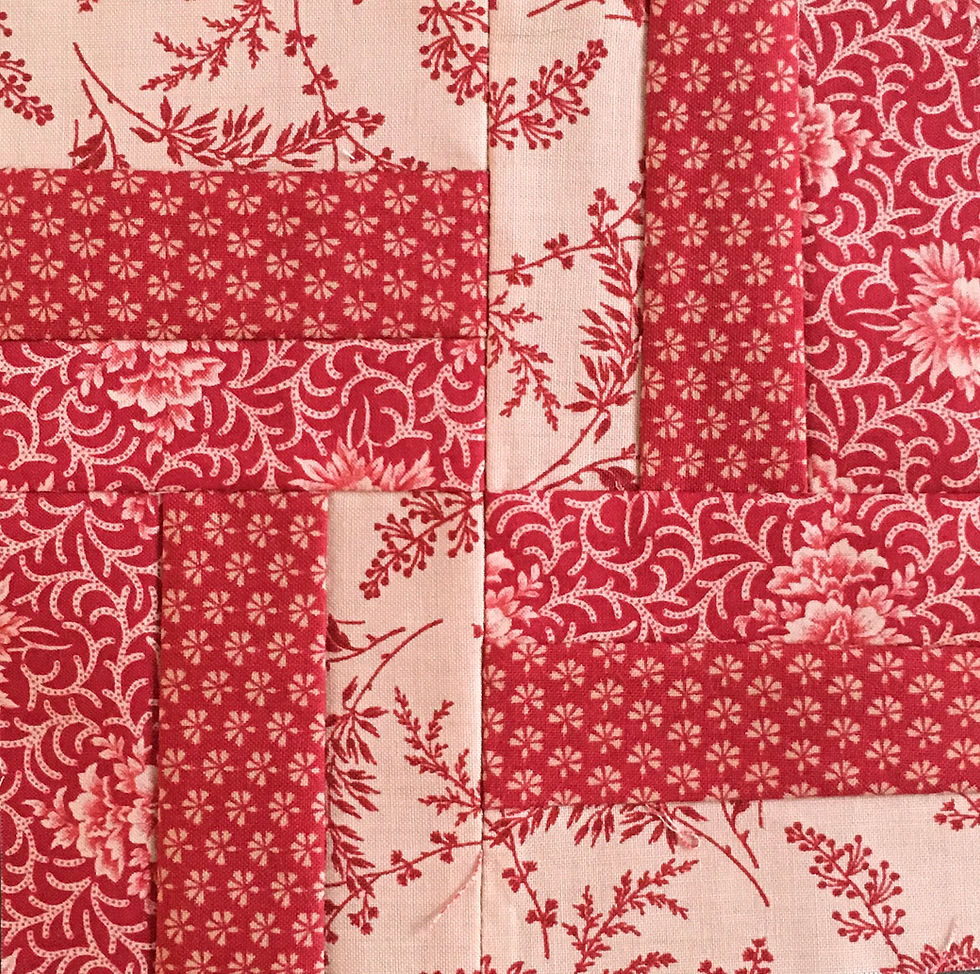
Now you have a beautiful 6" Rail Fence Quilt Block!
Now it's your turn!
Did you ever think you could make a 6" Rail Fence Quilt block using Cricut Maker? Well, now you have. Just repeat the process to create more blocks for a baby quilt, table runner, or even a full-sized quilt.
Have fun experimenting with different fabric combinations.
Comments